The Science of Ice Formation
Ice formation is a fascinating process that begins when water reaches it’s freezing point, typically 0°C (32°F) for freshwater. As water molecules slow down and arrange themselves into a crystalline structure, ice starts to form from the top down.
Several factors influence the rate of ice formation:
- Air temperature
- Water depth and volume
- Water movement
- Snow cover
- Wind exposure
Understanding these factors is crucial for assessing ice safety. For example, moving water in rivers or areas with currents typically freezes more slowly and creates thinner, weaker ice.
Measuring Ice Thickness
Accurately measuring ice thickness is essential for safety. Here are some methods I’ve used over the years:
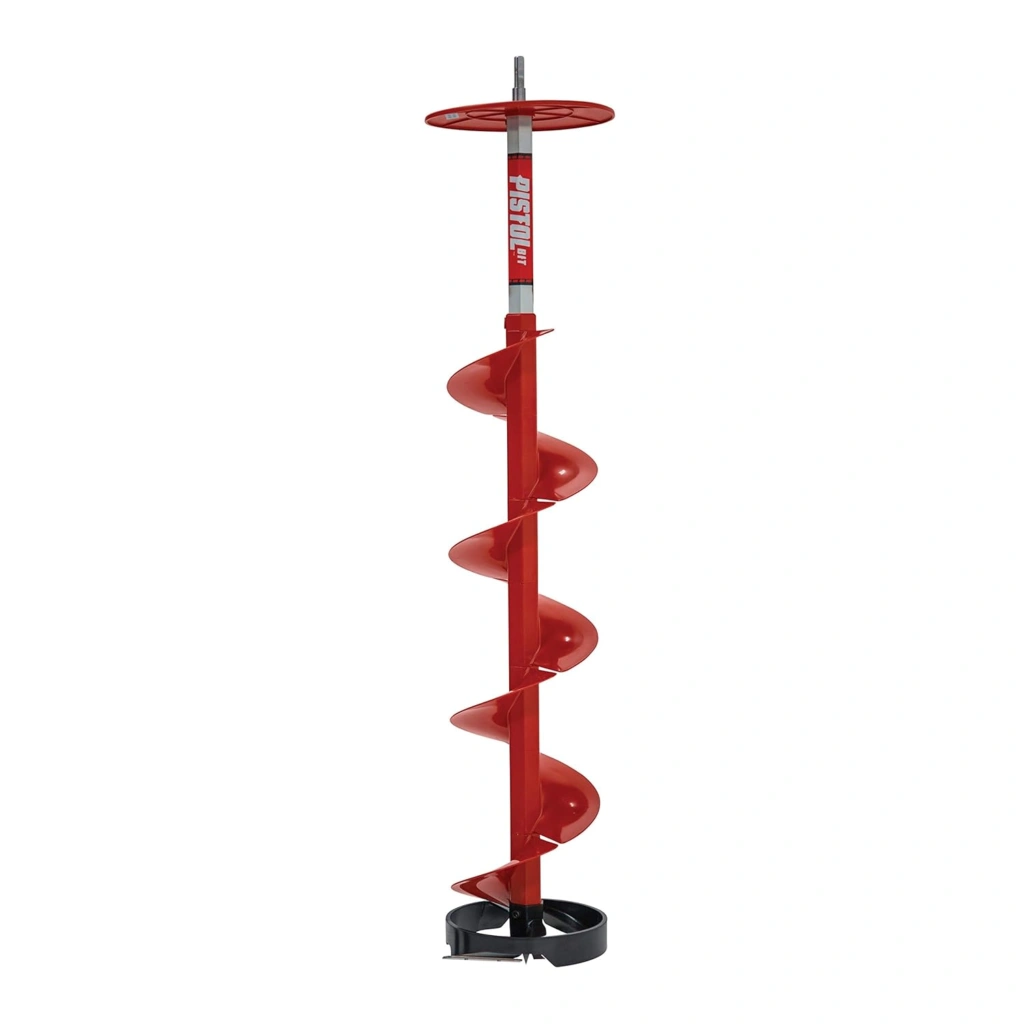
Ice Auger
An ice auger is my go-to tool for measuring ice thickness. It’s essentially a large drill designed specifically for ice.

As you drill, you can measure the depth of the hole to decide ice thickness.
Ice augers come in manual and powered versions, with the latter being more efficient for frequent use or checking many locations.
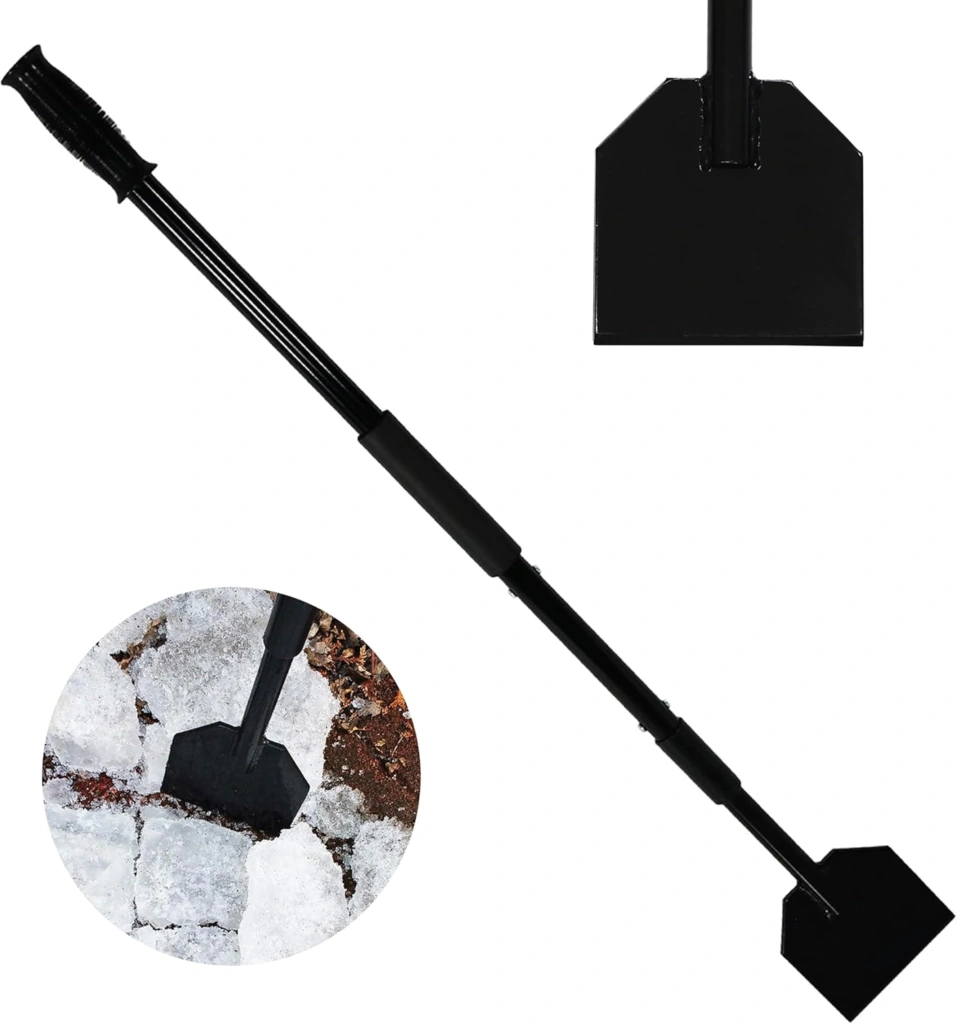
Ice Chisel
Also known as a spud bar, an ice chisel allows you to chip a hole in the ice and measure it’s thickness. It’s particularly useful for checking ice conditions as you move across a frozen surface.

The technique involves repeatedly striking the ice with the chisel until it breaks through, then measuring the depth of the hole.
Cordless Drill with a Long Bit
This method has gained popularity because of it’s convenience. Use a long drill bit (at least 18 inches) and measure how far it penetrates before hitting water.

This approach is quick and easy, especially for frequent checks or when you need to assess many spots rapidly.
Ground-Penetrating Radar
While not practical for person use, ground-penetrating radar technology is used by professionals for large-scale ice thickness measurements. It can provide a comprehensive map of ice thickness across an entire body of water, which is particularly useful for managing ice roads or large events on frozen lakes.
Regardless of the method you choose, it’s crucial to check ice thickness in many locations. Ice thickness can vary significantly even within short distances because of factors like underwater springs, currents, or changes in water depth.
Safe Ice Thickness Guidelines
While these guidelines are widely accepted, it’s important to remember that no ice is ever 100% safe. Always err on the side of caution when venturing out onto frozen bodies of water.
- 4 inches (10 cm): Safe for foot traffic
- 5-7 inches (12-18 cm): Safe for snowmobiles and ATVs
- 8-12 inches (20-30 cm): Safe for cars and small trucks
- 12-15 inches (30-38 cm): Safe for medium trucks
Pro Tip: These guidelines assume clear, blue ice. When dealing with white ice or “snow ice,” double these thickness recommendations for safety.
Interpreting Ice Color and Quality
The color of ice provides valuable information about it’s strength:
Clear Blue Ice
This is the strongest and safest type of ice. It’s color comes from the dense packing of ice crystals, which scatter blue light.
Clear blue ice forms under ideal conditions with consistent freezing temperatures and minimal snow cover.
White Opaque or Snow Ice
White ice is about half as strong as blue ice. It forms when snow falls on ice and becomes saturated with water.
The air bubbles trapped in the ice scatter light in all directions, giving it a white appearance.
While still capable of supporting weight, white ice needs greater thickness to be considered safe.
Gray Ice
Gray ice shows the presence of water and is unsafe. It’s color comes from water saturation, often because of melting or incomplete freezing.
Gray ice is weak and should never be trusted to support any weight.
Common Pitfalls in Ice Safety Assessment
Overreliance on Ice Thickness
While thickness is crucial, it’s not the only factor determining ice safety. Ice quality, formation conditions, and recent weather patterns all play significant roles.
A thick layer of poor-quality ice may be less safe than a thinner layer of strong, clear ice.
Assuming Uniform Thickness
Ice thickness can vary significantly across a body of water. Areas near shore, around structures, or where streams enter can be particularly weak.
Always check many locations, especially when moving to a new area on the ice.
Ignoring Weather Changes
A sudden warm spell or rain can quickly weaken ice that was previously safe. Pay close attention to weather forecasts and be prepared to reassess ice conditions after any significant temperature changes or precipitation events.
Overestimating Personal Experience
Even experienced ice users can misjudge ice conditions. Always check the ice, no matter how familiar you are with an area.
Conditions can change rapidly, and past experiences may not accurately reflect current safety levels.
Adapting to Changing Ice Conditions
Climate change significantly impacts ice formation patterns. Recent studies have shown that lake ice seasons have shortened by an average of 24 days since the 1970s.
This trend means we need to be more vigilant than ever when assessing ice safety.
To adapt to these changing conditions:
- Check local reports and forecasts regularly
- Be aware of seasonal patterns in your area
- Use technology like ice thickness apps or thermal imaging cameras when available
- Learn from local knowledge, especially in areas with traditional ice use
Advanced Ice Safety Concepts
As you gain experience with ice safety, you’ll develop a more nuanced understanding of ice conditions. Here are some advanced concepts to consider:
Pressure Ridges
Pressure ridges form when ice sheets collide and push against each other, creating a ridge of broken and refrozen ice. These areas can be weaker than surrounding ice and should be approached with caution.
Pressure ridges often appear as lines of raised, rough ice and may have open water or thin ice nearby.
Ice Shelves
Ice shelves form when ice extends out over water without support from below. They can be extremely dangerous and should be avoided. Ice shelves are often found near shorelines where water levels have dropped after initial freezing.
They may appear solid from above but can collapse under weight.
Freeze-Thaw Cycles
Repeated freezing and thawing can create layered ice with varying strength. This process can lead to “candled” ice, where vertical crystals form and weaken the overall structure.
Ice affected by freeze-thaw cycles may look solid but can be significantly weaker than it’s appearance suggests.
Water Chemistry
Saltwater ice is typically about 15% weaker than freshwater ice because of it’s different freezing properties. In areas with brackish water or salt runoff, ice may form more slowly and be less stable.
Always consider the water source when assessing ice safety.
Practical Exercises for Ice Safety Mastery
Ice Thickness Mapping
Choose a small pond or lake and map out it’s ice thickness at various points. Use a grid system to systematically check thickness across the entire surface.
Note how it changes near shore, in deeper areas, and near any inflows or outflows.
Create a visual representation of your findings to better understand ice formation patterns.
Weather Impact Study
Over a week, record daily temperature, precipitation, and wind conditions. Check ice thickness in the same spot each day and note how it changes with weather patterns.
Pay special attention to the effects of sunny days, warm nights, and any precipitation.
This exercise will help you understand how quickly ice conditions can change.
Ice Color Identification
Practice identifying different types of ice by color and texture. Take photos for reference and compare with expert descriptions.
Create a personal field guide with examples of clear blue ice, white ice, and unsafe gray ice.
Include notes on the conditions under which each type formed.
Rescue Gear Familiarization
Practice using ice picks, throw ropes, and other rescue gear in a safe environment. Set up simulated rescue scenarios on land to build muscle memory for emergency situations.
Learn proper techniques for self-rescue and assisting others without putting yourself at risk.
Local Knowledge Collection
Interview long-time residents or indigenous people about traditional ice safety practices in your area. Document their insights on local ice formation patterns, dangerous areas, and time-tested safety techniques.
Combine this traditional knowledge with modern scientific understanding for a comprehensive approach to ice safety.
Essential Ice Safety Equipment
When venturing out onto ice, always carry the following safety equipment:
- Ice picks or screwdrivers: Wear these around your neck for quick access if you fall through the ice.
- Flotation device: A personal flotation device (PFD) or float coat provides buoyancy if you break through.
- Throw rope: A 50-foot rope can help rescue others or be used for self-rescue.
- Whistle: Use this to signal for help in emergencies.
- Ice cleats: These provide traction on slippery ice surfaces.
- Waterproof phone case: Keep your communication device protected and accessible.
- Warm, dry clothes in a waterproof bag: Essential for after a fall into cold water.
Ice Safety for Different Activities
Ice Fishing
When ice fishing, distribute your weight by using an ice sled to carry equipment. Avoid clustering in large groups, and regularly check ice thickness as you move to new fishing spots.
Be aware that repeated drilling can weaken the ice in a small area.
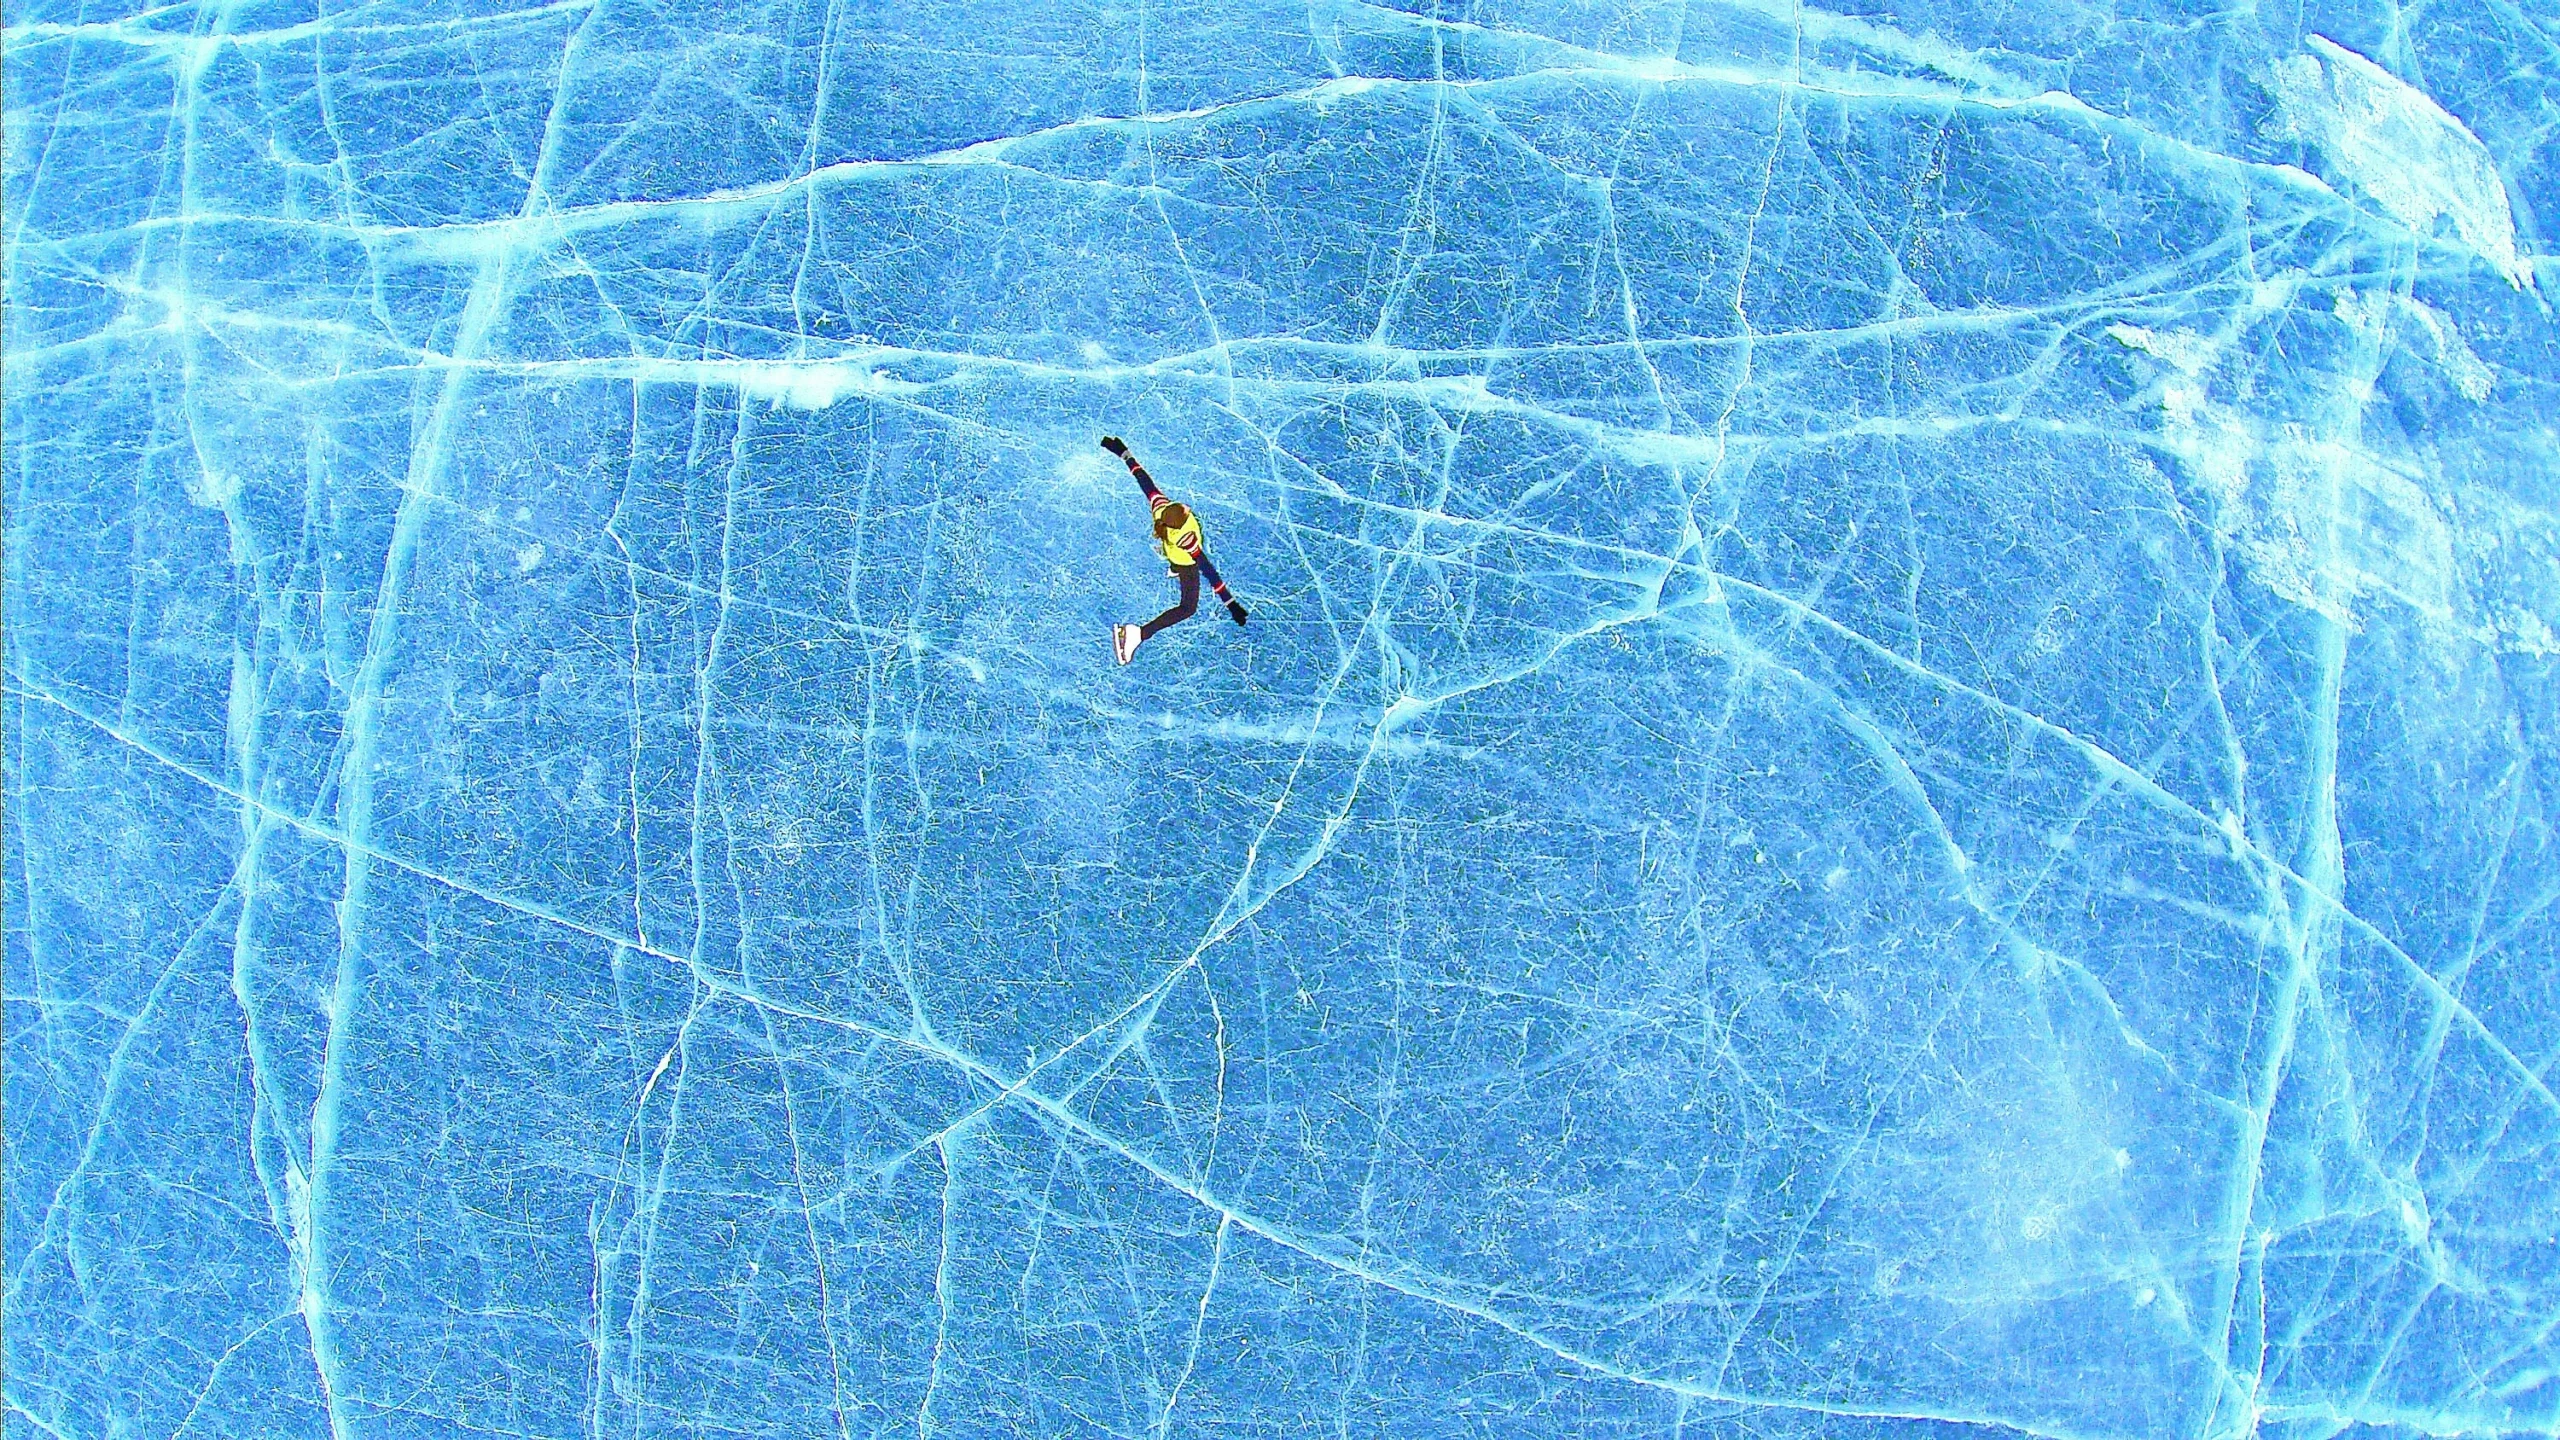
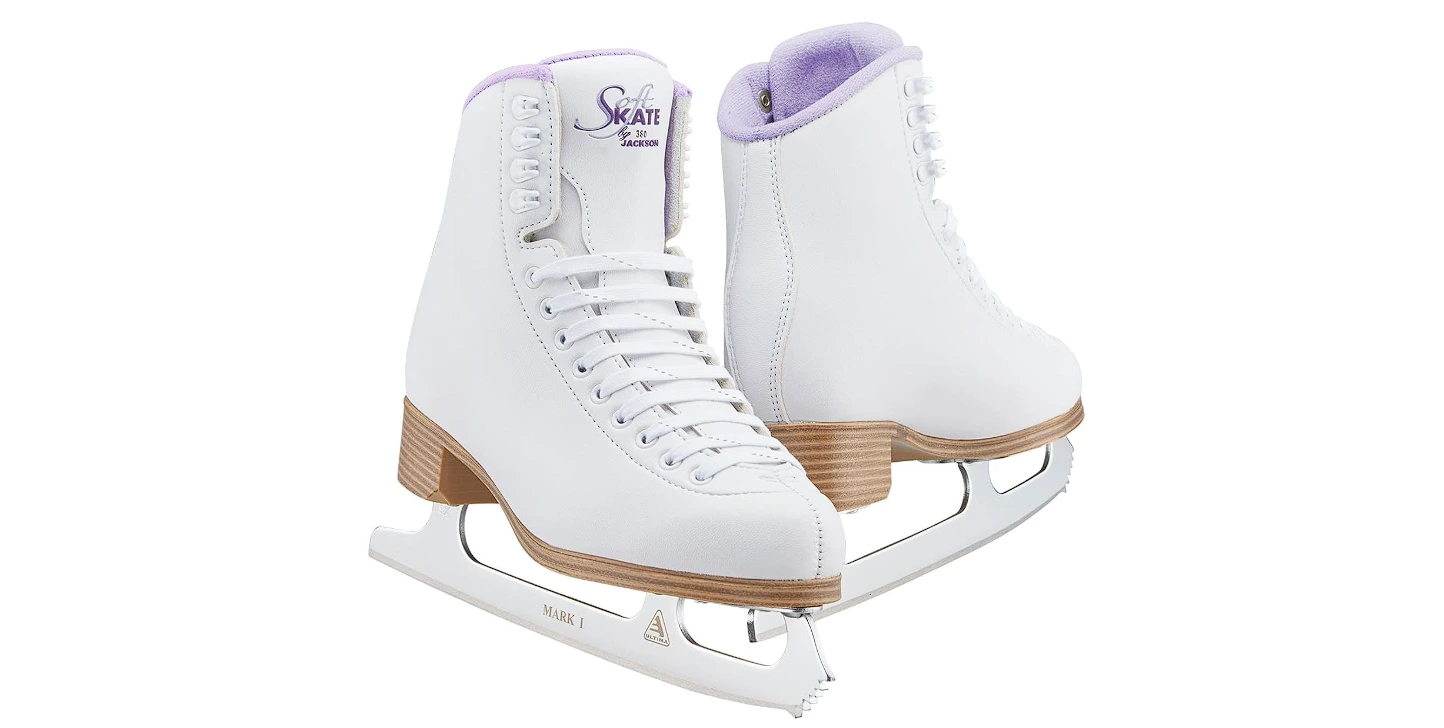
Skating
For ice skating, look for smooth, clear ice away from shore. Avoid areas with cracks, bubbles, or discoloration.
Always skate with a partner and carry basic safety equipment.
Be cautious of pressure ridges that may create uneven surfaces.
Snowmobiling
Snowmobiling needs thicker ice because of the weight and speed of the vehicle. Stick to marked trails when possible, and avoid areas with flowing water or known thin ice.
Wear a flotation suit and carry ice picks for added safety.
Understanding Cold Water Immersion
If you fall through the ice, knowing how your body reacts to cold water immersion can save your life. The four stages of cold water immersion are:
- Cold Shock Response (0-3 minutes): Involuntary gasping, hyperventilation, and panic.
- Cold Incapacitation (3-30 minutes): Loss of muscle control and dexterity.
- Hypothermia (30+ minutes): Core body temperature drops, leading to confusion and loss of consciousness.
- Circum-rescue Collapse: Potential for heart failure during or after rescue because of changes in blood pressure.
To survive a fall through ice:
- Control your breathing and resist the urge to gasp.
- Remove heavy outer clothing that may weigh you down.
- Turn toward the direction you came from – this ice was strong enough to support you moments ago.
- Place your arms on the unbroken ice and kick your feet to propel your body horizontally onto the ice.
- Once out, roll away from the hole to distribute your weight.
- Get to shelter and warm up immediately to prevent hypothermia.
The Role of Community in Ice Safety
Building a culture of ice safety within your community can significantly reduce accidents and save lives. Consider these initiatives:
- Organize ice safety workshops with local experts.
- Create and maintain designated safe ice areas for public use.
- Establish an ice monitoring program to track conditions throughout the season.
- Develop a community alert system for dangerous ice conditions.
- Encourage responsible ice use through education and outreach programs.
Climate Change and the Future of Ice Safety
As global temperatures rise, traditional ice safety knowledge may become less reliable. Adapting to these changes needs:
- Increased monitoring of ice conditions using advanced technologies.
- Flexible safety guidelines that account for year-to-year variability.
- Research into how climate change affects local ice formation patterns.
- Development of new safety techniques for less predictable ice conditions.
- Public education on the impacts of climate change on winter activities.
Frequently Asked Questions
How thick should ice be to walk on?
Ice should be at least 4 inches (10 cm) thick for safe foot traffic. However, this assumes clear, strong ice.
For white or snow ice, double this thickness for safety.
Can you tell if ice is safe by it’s appearance?
While appearance can provide clues, it’s not a reliable indicator of safety on it’s own. Clear blue ice is typically strongest, but thickness and other factors must also be considered.
How quickly does ice form on a lake?
Ice formation speed varies greatly depending on temperature, wind, and water conditions. Generally, 1-2 inches may form overnight in ideal conditions, but it can take several days or weeks to reach safe thicknesses.
Does rain make ice unsafe?
Rain can significantly weaken ice, especially if followed by freezing temperatures. It can create slush layers or cause existing ice to deteriorate rapidly.
Are ice fishing shelters safe on thin ice?
Ice fishing shelters should only be used on ice that’s thick enough to support their weight plus occupants. Generally, this means at least 8-12 inches of clear ice.
How do underwater springs affect ice thickness?
Underwater springs can create areas of thin ice or open water because of warmer temperatures and water movement. These spots are often dangerous and unpredictable.
What’s the best time of day to check ice thickness?
Early morning is often the best time to check ice thickness, as nighttime cooling typically strengthens the ice. Avoid late afternoon when sun and warmer temperatures may have weakened the ice.
Can animals sense unsafe ice?
While some animals may have instincts about ice safety, it’s not reliable. Never assume ice is safe just because you see animals on it.
How does snow affect ice formation?
Snow can insulate ice and slow it’s growth. It can also hide thin spots and create heavy slush layers that weaken the ice structure.
Is black ice always dangerous?
“Black ice” on lakes is actually clear, strong ice that appears dark because you can see the water below. It’s typically safe if thick enough.
The term is often confused with the thin, invisible ice on roads, which is dangerous.
Key Takeaways
- Always check ice thickness in many locations before venturing out.
- Consider ice color, quality, and recent weather changes, not just thickness.
- Carry proper safety equipment and know how to use it.
- Understand how climate change is affecting ice formation patterns in your area.
- Continuously build your knowledge and skills for advanced ice safety.
- Foster a community culture of responsible ice use and safety awareness.
Affiliate Disclaimer: SkateNavigator.com may include affiliate links, which allow us to earn a small commission when you make a purchase through them. This helps support our site at no extra cost to you. Thank you for your support!


0 Comments